Layouts
Layout Manager allows you to create new layouts or edit/delete existing layouts and assign modules to them by just dragging & droping. Positioning a module in content top, bottom, column left or right has never been easier.

Drag & Drop
If you're familiar with WordPress, you manage and assign modules/widgets from one place, Widgets page, by just dragging & droping them. Well, the Joomla and OpenCart users are not so lucky as they have jump here and there a couple of times (can't count them) in order to display a module/widget. Thanks to the built-in Layout Manager of Arastta, you can now achieve this process on your store as easy as with WordPress.
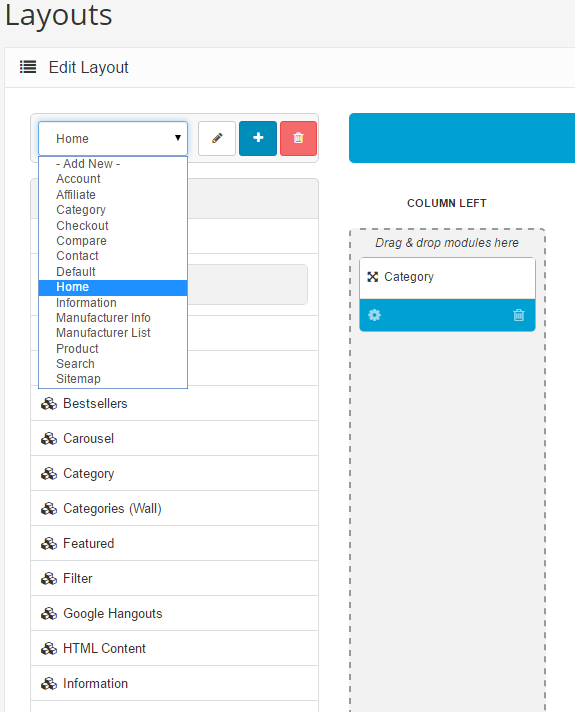
The Arastta default store provides the following page layouts:
- Account
- Affiliate
- Category
- Checkout
- Compare
- Contact
- Default
- Home
- Information
- Manufacturer Info
- Manufacturer List
- Product
- Search
- Sitemap

If you haven't done so already, you should take some time to browse the store front. To become familiar with layouts available in Arastta, you should visit the different page types of your store front. The Manufacturer page layout has a different type of layout than the Checkout page, which has a different page layout than the Information page, and so on.
Creating a layout page from scratch takes some knowledge of web design and development. Once a layout page has been created, you should upload the files with an FTP client.

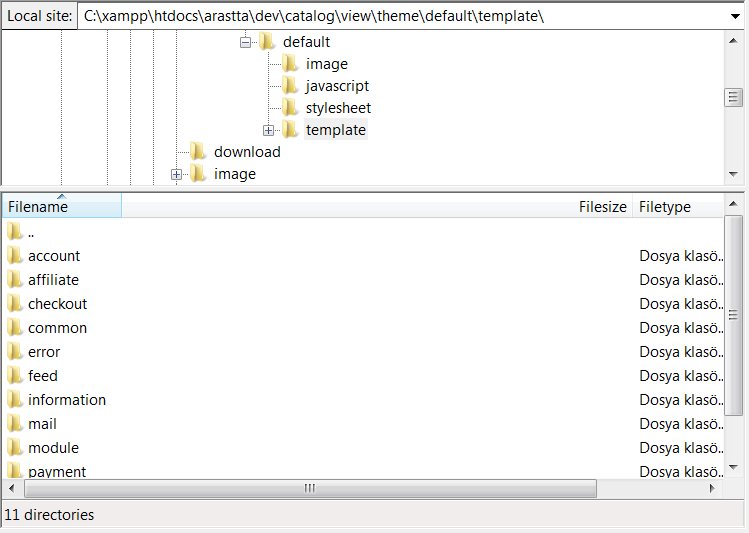
The location of the layout pages in the default theme is visible under /catalog/view/theme/default/template/ in the Arastta directory. You can see that all the page layouts from the default are included as folders above. To add a new layout page, you would need to upload the files under a new layout folder.
After the new layout page is uploaded to the location above, it can added to the store by clicking the "Add Layout" button under Appearance > Layouts. The new layout will require a layout name, the store the layout will be added to, and a route. The route is the folder name that the layout files are included in. Arastta knows to search for the folder under /catalog/view/theme/default/template/ in the store directory, so only the folder name is required.
Clicking "Add Route", then "Save" will make the new layout available in the store. See Modules for more information on how to add a module to a specific layout page.
